How to Set Up Drafts And Schedule Posts To Publish With Gridsome
 Photo by Kristian Strand on Unsplash
This is part nine of a series on building a file-based blog from scratch with Gridsome. Find the full series here.
Until now, our simple blog lacks two important features: posts in draft state, and automatic publishing of blog posts in the future.
Let’s explore how to implement both in a few minutes!
A Simple Way To Enable Drafts In Gridsome
So, we want to be able to commit a draft of an article and have it not deployed to production. My setup for this is fairly simple.
I added a check to Gridsome, so it handles posts with a date in the future.
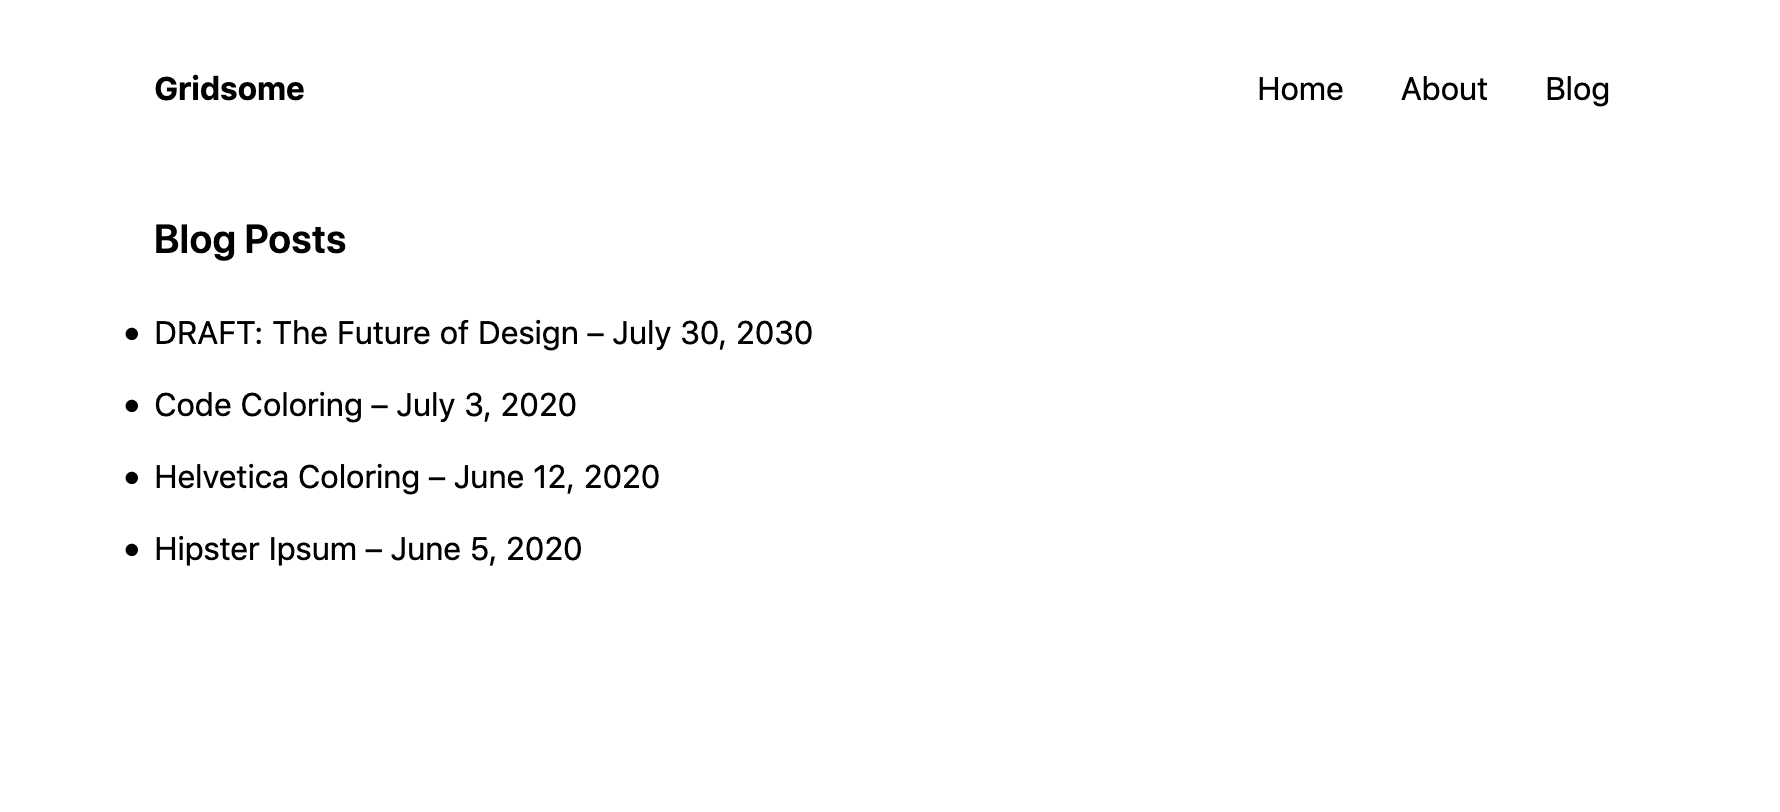
If it’s a development build and the post’s date is in the future, its title will be prefixed with DRAFT:.
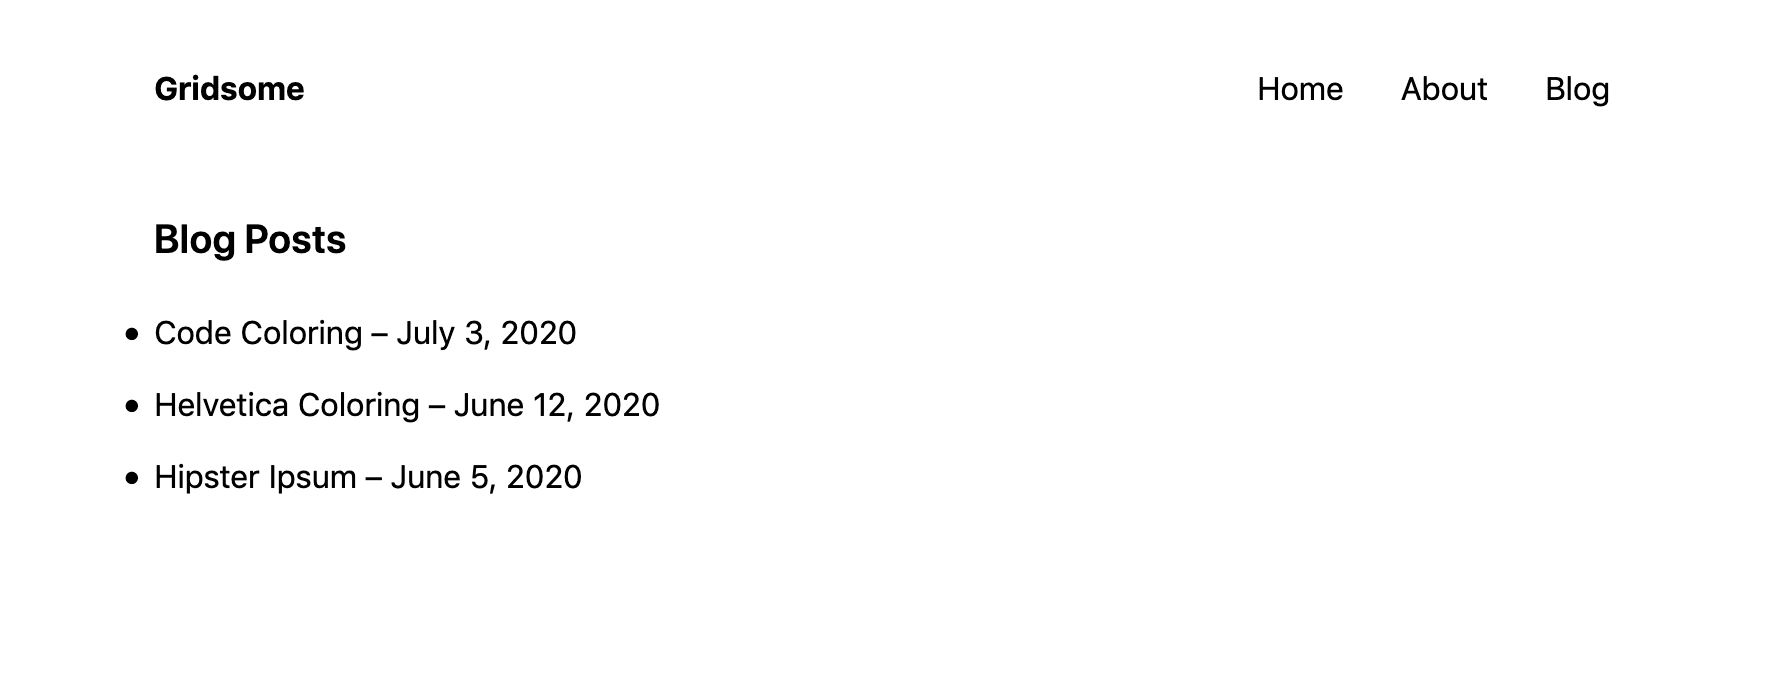
If it’s a production build and the post’s date is in the future, the post will be removed and not rendered.
module.exports = function (api) {
  api.loadSource(({ getCollection }) => {
    // load the "BlogPost" collection
    const posts = getCollection('BlogPost')

    // go over every article and either remove it or prefix with "DRAFT: ", depending on NODE_ENV
    const now = new Date()
    posts.data().forEach(node => {
      if (new Date(node.date) > now) {
        if (process.env.NODE_ENV === 'production') {
          posts.removeNode(node.id) // must remove by node id
        } else {
          node.title = `DRAFT: ${node.title}`
        }
      }
    })
  })

  api.createPages(({ createPage }) => { })
}
Now, add an article with a future date:
---
slug: "fourth-post"
date: "2035-07-30"
title: "The Future of Design"
tags: ["future", "design"]
---

...
And here we have our blog posts overview page when running yarn develop:
And this is our overview page when running yarn build && serve dist:
How To Automatically Publish Gridsome Articles To Netlify
If you use Netlify to host your Gridsome blog, it is straightforward to set up automatic publishing of articles.
For this to work we need:
- A Gridsome blog
- A free Netlify account setup to auto-deploy the Gridsome blog
- Gridsome set up to not render posts with a future publishing date (see above)
- A free Zapier account
You can integrate Zapier with Gridsome like this:
- Log in with Zapier
- Create a new Zap
- Select “Schedule by Zapier” as the first app
- Schedule it to “Every Day”, enable “Trigger on Weekends”, and set Time of Day to something early in the morning (I use 5 am)
- Select “Netlify” as the second app
- Choose “Start Deploy” as the action event. You’ll need to connect with your Netlify account. Select your blog site and select “False” on “Clear Build Cache”
- When you test this integration, you should see a new build started in Netlify
You’re ready! Now, if you commit and push a blog post to your repository with a date in the future, Netlify will automatically publish it.
Next part: set up Netlify with your Gridsome blog
That’s it for this post on how to add drafts and automatic publishing to our Gridsome blog.
If you haven't yet set up your Gridsome blog with Netlify, the next blog post in this series helps you with that.