How to Create A Snowfall Animation with Svelte [2 Ways]

When I started the quest to create a snowfall animation with Svelte, I knew nothing about complex transitions or animations.
My first step was to go through the motion, transition, and animation tutorials by Svelte.
Then I decided on my first approach: custom transitions. One in transition for falling and one out transition for melting.
Laying The Foundation
My requirements for the snow animations were:
- Snowflakes fall to the bottom of the screen, even if the content does not reach to the bottom
- I can scroll without moving the snowflakes
- The falling snow has downwards (y)-motion, and some sideways (x) motion to mimic wind
- The snowflakes should rotate to make the scenery more vivid
- The snowflakes stop at the bottom and "melt" over time
- The animation should be smooth
For requirement 1, the document body should stretch all the way to the bottom:
<style>
  :global(body) {
      min-height: 100%;
	}

  :global(html) {
      height: 100%;
	}
</style>
Then, for requirement 2 we need a wrapper element around the snowflakes. That should be a direct child of body:
<style>
  .snowframe {
    position: absolute;
    top: 0;
    right: 0;
    bottom: 0;
    left: 0;
    overflow: hidden;
  }
</style>
Let's look at the snowflakes. I used three different UTF-8 characters for snow: const snowIcons = ['❆', '❅', '❄']. Just make them white, give them some text shadow, use Arial and make them absolute:
<style>
  .snowflake {
    color: #fff;
    font-size: 1.2rem;
    line-height: 1.2rem;
    font-family: Arial, sans-serif;
    text-shadow: 0 0 5px #000;
    position: absolute;
    z-index: 1000;
    overflow: hidden;
  }
</style>
Snowfall, The "Custom Transition" Way
Here is an annotated version of the <script> code I wrote to generate the snowflakes and animate them using custom transitions.
<script>
  import { cubicOut, backIn } from 'svelte/easing'
  import { fade } from 'svelte/transition'
  import { onMount } from 'svelte'

  // a bunch of variables defining the snow and how it falls
  const SNOWFLAKES_COUNT = 50
  const SNOWFLAKE_MIN_SCALE = 0.4
  const MAX_FALL_DURATION = 10000
  const MELTING_WAIT = 1000
  const MELTING_DURATION = 4000
  const WIND_FORCE = 0.25
  const SNOW_ICONS = ['❆', '❅', '❄']

  const MAX_TOTAL_TIME = MAX_FALL_DURATION + MELTING_WAIT + MELTING_DURATION

  // this function generates the random configuration with all necessary values
  function randomSnowflakeConfig(i) {
    const scale = SNOWFLAKE_MIN_SCALE + Math.random() * (1 - SNOWFLAKE_MIN_SCALE)
    const xStart = Math.random() * (1 + WIND_FORCE) - WIND_FORCE
    return {
      visible: false,
      scale,
      inDelay: Math.random() * MAX_TOTAL_TIME,
      inDuration: (1 + SNOWFLAKE_MIN_SCALE - scale) * MAX_FALL_DURATION,
      xStart,
      xEnd: xStart + scale * WIND_FORCE,
      snowIcon: SNOW_ICONS[i % SNOW_ICONS.length],
    }
  }

  // actially generating the snowflakes
  let snowflakes = new Array(SNOWFLAKES_COUNT)
    .fill()
    .map((_, i) => randomSnowflakeConfig(i))
    .sort((a, b) => a.scale - b.scale)

  // the custom fall transition.
  // See docs for how to create custom Svelte transitions: https://svelte.dev/docs#transition_fn
  function fall(_node, { delay = 0, duration, xStart = 0.1, xEnd = 0.5, scale = 1.0 }) {
    return {
      duration,
      delay,
      css: t => {
        const x_t = backIn(t)
        const y_t = t

        const x_coord = (xEnd - xStart) * x_t + xStart
        return `
          transform: scale(${scale}) rotate(${x_t * 720}deg);
          left: ${x_coord * 100}%;
          bottom: ${100 - y_t * 100}%;
        `
      },
    }
  }

  // start everything on mount. starting means setting the snowflakes visible.
  // this "hack" is not needed when you configure your svelte to display transitions on first render:
  // https://svelte.dev/docs#Client-side_component_API - set `intro: true`
  onMount(async () => {
    setTimeout(() => {
      snowflakes = snowflakes.map(sf => ({ ...sf, visible: true }))
    }, 50)
  })
</script>
And here is the Svelte HMTL code for our snowflake:
<div class="snowframe" aria-hidden="true">
  {#each snowflakes as flake}
    {#if flake.visible}
      <div
        class="snowflake"
        style={`transform: scale(${flake.scale}); left: ${flake.xEnd * 100}%`}
        in:fall={{ delay: flake.inDelay, duration: flake.inDuration, scale: flake.scale, xStart: flake.xStart, xEnd: flake.xEnd }}
        out:fade={{ delay: MELTING_WAIT, duration: MELTING_DURATION, easing: cubicOut }}
        on:introend={() => (flake.visible = false)}
        on:outroend={() => (flake.visible = true)}>
        {flake.snowIcon}
      </div>
    {/if}
  {/each}
</div>
You notice that I created a loop by listening to the introend and outroend events and setting the snowflake visibility accordingly.
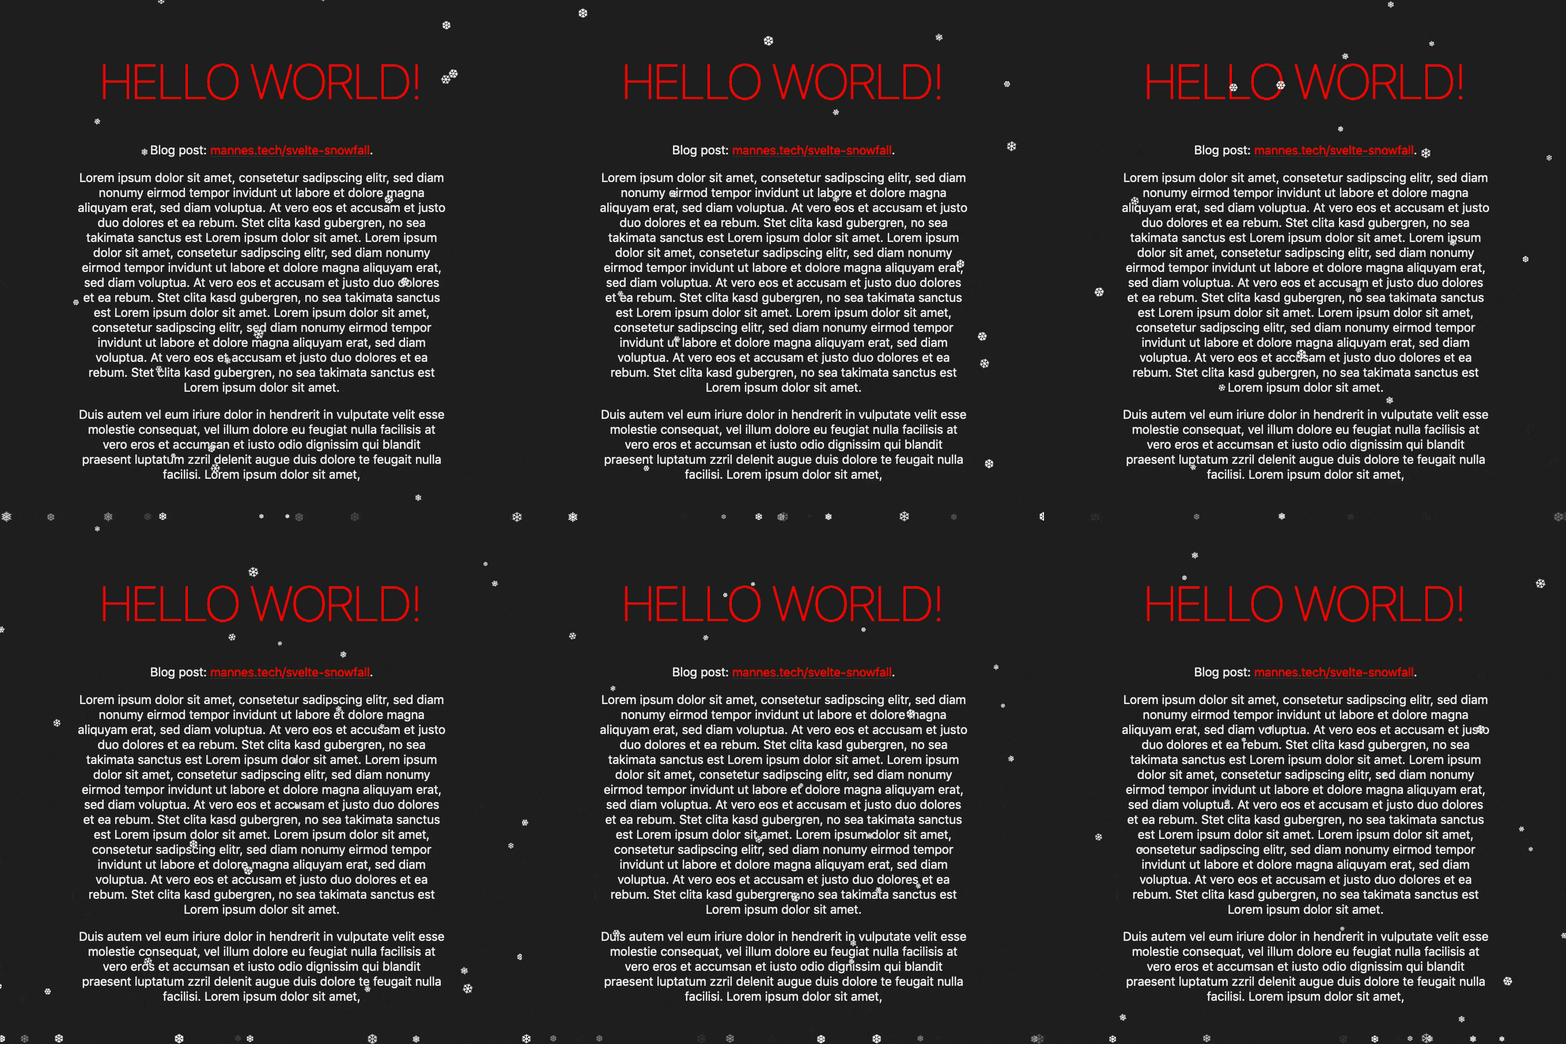
Together with the styling from above, we can see this beautiful snow animation:

I created a live-environment (REPL) of this snowfall animation with transitions here.
If you try it out, or gasp try to increase the number of snowflakes you will notice this solution runs into performance issues very quickly.
I thought about wrapping my experience up that way, but then I remembered something. If you've completed the whole official Svelte tutorial, you will remember this animation from the last page:

Source: Svelte Tutorial, December 2021
Their animation runs so smooth!
This is how I learned about the Animation Frame API, a modern and efficient way to run animations in web browsers (apart from Opera Mini, of course).
Snowfall, The "Animation Frame" Way
Using the AnimationFrame API is pretty simple.
You can request the browser to call a function you specified before the next repaint (window.requestAnimationFrame()).
If you want to have a continuous animation you simply request the next animation frame within your function.
The <script> code here differs, but is easier than before:
<script>
  import { onMount } from 'svelte'

  // a bunch of variables defining the snow and how it falls
  const SNOWFLAKES_COUNT = 300
  const SNOWFLAKE_MIN_SCALE = 0.1
  const MELTING_SPEED = 1.12
  const WIND_FORCE = 0.01
  const FALL_SPEED = 0.15
  const SNOW_ICONS = ['❆', '❅', '❄']
  const TARGET_FPS = 60

  const MS_BETWEEN_FRAMES = 1000 / TARGET_FPS

  // this function generates the random configuration with all necessary values
  function randomSnowflakeConfig(i) {
    return {
      scale: SNOWFLAKE_MIN_SCALE + Math.random() * (1 - SNOWFLAKE_MIN_SCALE),
      x: -20 + Math.random() * 120,
      y: -100 + Math.random() * 200,
      rotation: Math.floor(Math.random() * 360),
      snowIcon: SNOW_ICONS[i % SNOW_ICONS.length],
      opacity: 0.999,
    }
  }

  // actially generating the snowflakes
  let snowflakes = new Array(SNOWFLAKES_COUNT)
    .fill()
    .map((_, i) => randomSnowflakeConfig(i))
    .sort((a, b) => a.scale - b.scale)

  // in onMount we define the loop function and start our animationFrame loop.
  onMount(async () => {
    let frame, lastTime

    function loop(timestamp) {
      frame = requestAnimationFrame(loop)

      const elapsed = timestamp - lastTime
      lastTime = timestamp

      let framesCompleted = elapsed / MS_BETWEEN_FRAMES

      if (isNaN(framesCompleted)) {
        framesCompleted = 1
      }

      snowflakes = snowflakes.map(flake => {
        if (flake.y >= 100) {
          flake.opacity = Math.pow(flake.opacity, MELTING_SPEED)
        } else {
          flake.y += FALL_SPEED * flake.scale * framesCompleted
          flake.x += WIND_FORCE * flake.scale * framesCompleted
          flake.rotation += 1 * framesCompleted
        }
        if (flake.opacity <= 0.02) {
          flake.y = -20
          flake.x = -20 + Math.random() * 120
          flake.opacity = 0.999
        }
        return flake
      })
    }

    loop()

    return () => cancelAnimationFrame(frame)
  })
</script>
We have one loop function, that continuously updates the location and rotation, or the opacity of every single snowflake.
You can leave out the timestamp and FPS config, but I added it to make sure the snow falls with the same speed on every browser and device.
The actual HTML for our snowflakes is now straightforward:
<div class="snowframe" aria-hidden="true">
  {#each snowflakes as flake}
    <div
      class="snowflake"
      style={`opacity: ${flake.opacity}; transform: scale(${flake.scale}) rotate(${flake.rotation}deg); left: ${flake.x}%; top: calc(${flake.y}% - ${flake.scale}rem)`}>
      {flake.snowIcon}
    </div>
  {/each}
</div>
Just display every snowflake from the array with the according opacity, scale, rotation, and their x and y coordinates.
Our new snow animation looks like this:

I also created a live-environment for this, you can find our snowfall with animation frames here.
Interestingly, this code runs smooth with 750 snowflakes on Firefox, while Chrome starts to struggle (not smooth anymore) at around 200. Tested on a 2019 MacBook Pro.
Conclusion: There's So Much To Explore
While creating this animation, I learned that there are more possibilities to create animation than keyframes or relying on libraries. There is the Animation Frame API which I used, there are the Svelte-native transitions. And you can use the Web Animations API, which I want to explore in a future blog post.